Import DTN2hops
DTN2hops is a testbed of four virtual machines, node1 to node4, five
switches, a switch wrapper and three channel emulators. It comes in two
files, which you have downloaded into your Downloads folder:
DTN2hops_26_Feb_2026.vbp, the archive of the testbed: its bricks, and the private copy of the disk of each machine, with what was done in it;debian13.tar.gz, which holds the disk image that the private copies are made on,debian13.qcow2. The archive doesn't hold it.
Before you start, extract debian13.qcow2
into Downloads, where it takes 6.8 GB. In a
terminal:
cd ~/Downloads
tar -xzf debian13.tar.gz
You import the testbed into Virtualbricks. The testbed was made with Virtualbricks 2.1, and Virtualbricks converts it while it reads the archive.
Open the archive
Choose Projects › Import…. A window opens, and asks for the archive.
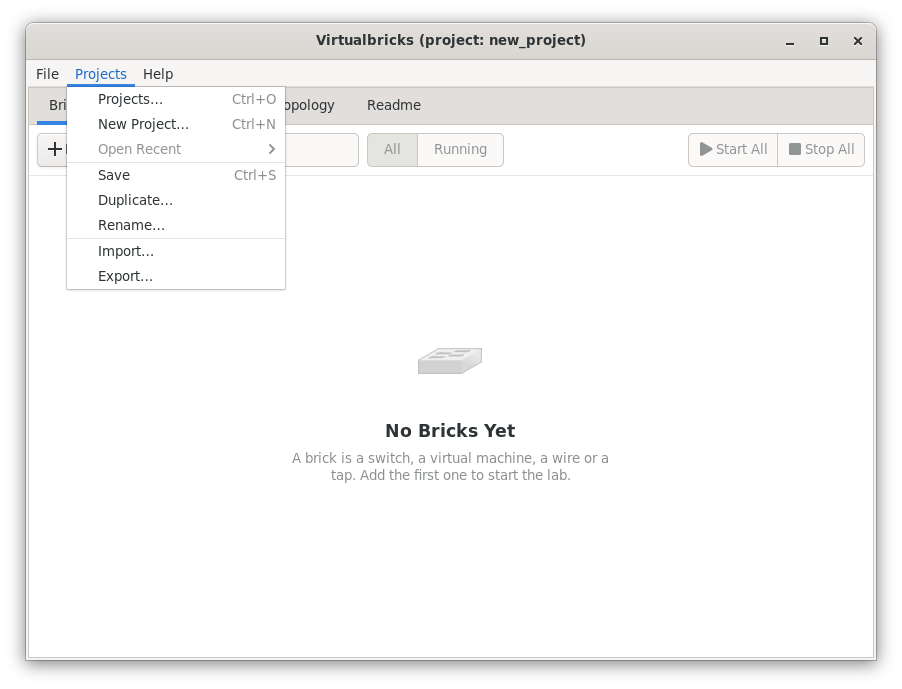
The menu Projects In it, click Home, double-click
Downloads, chooseDTN2hops_26_Feb_2026.vbp, and click Open. The Import Project window opens, reads the archive, then shows what it holds.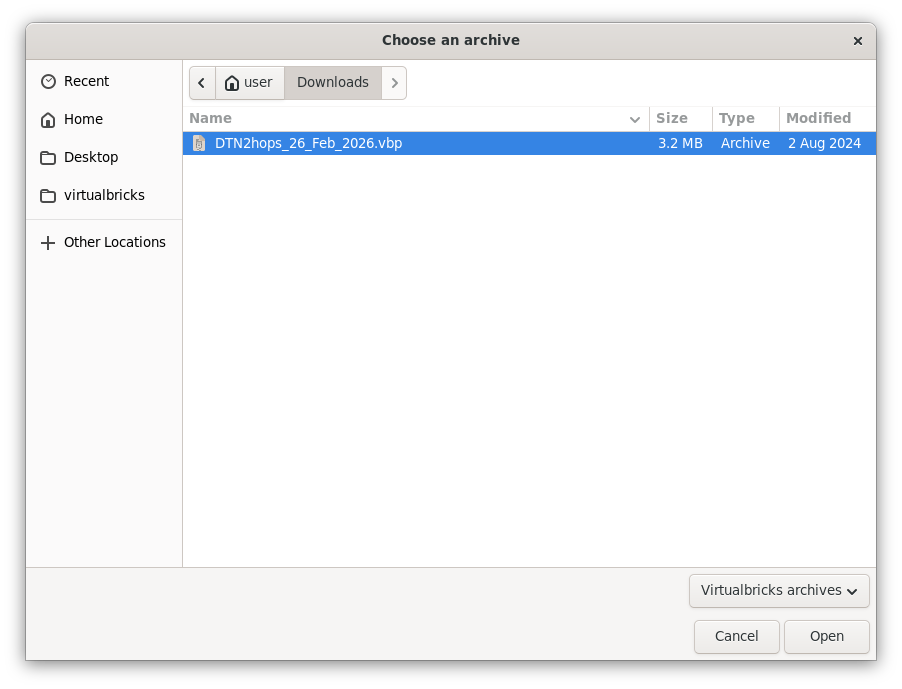
The archive, in Downloads
What the window offers
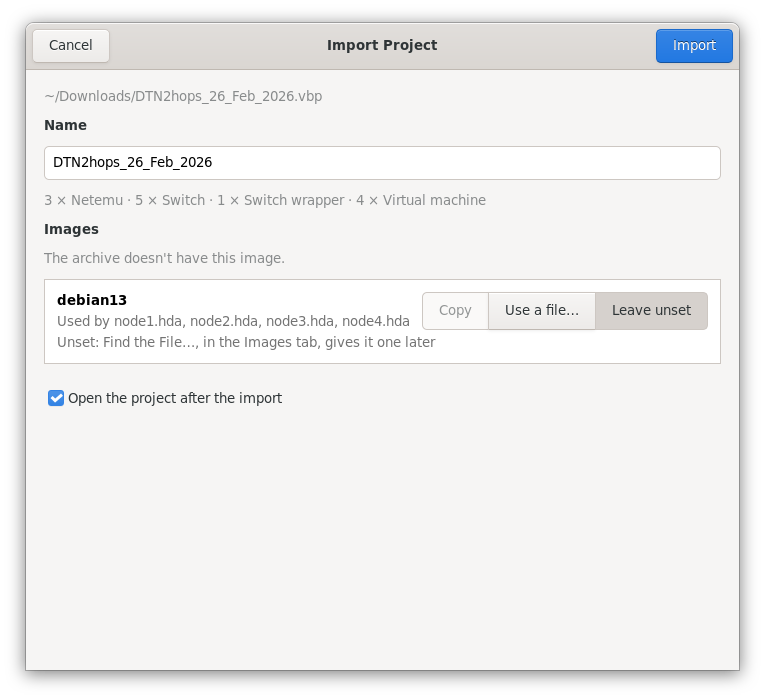
- Name
-
DTN2hops_26_Feb_2026, the name of the file. If another project already has this name, the window suggestsDTN2hops_26_Feb_2026-2: an import never replaces an existing project. You can change it; under the input box, the window says if and why a name can't be a project's: it's empty, is too long, etc. - The bricks
-
Below the name, how many bricks of each kind the project has, by the names of the Bricks tab: Netemu are the channel emulators.
- Images
-
The archive doesn't have this image., once the window has looked through the archive. Then a row for
debian13, used by thehdadisk of each of the four machines, with three choices:Copy, from the archive to the shared images of your workspace. It's grey: the archive doesn't hold the image, and there is nothing to copy.
Use a file… of this computer.
Leave unset: the image stays without its file, until Find the File…, in the Images tab, gives it one.
Leave unset is chosen: the window looked for the image where the project had it,
/home/carlo/VB_images/debian13.qcow2on the computer the testbed was made on, and in your shared images, asdebian13.qcow2ordebian13, and found it in neither. It doesn't look inDownloads. - Open the project after the import
-
On: once imported, the testbed opens in the main window.
- Import
-
Grey until the window has read the archive, and whenever something stops the import; the window says what.
Choose the image
For this tutorial, choose Use a file…, then
debian13.qcow2: not Copy, nor Leave unset.
In the row of
debian13, click Use a file…. In the window that opens, click Home, double-clickDownloads, choosedebian13.qcow2, the file you extracted fromdebian13.tar.gz, and click Open.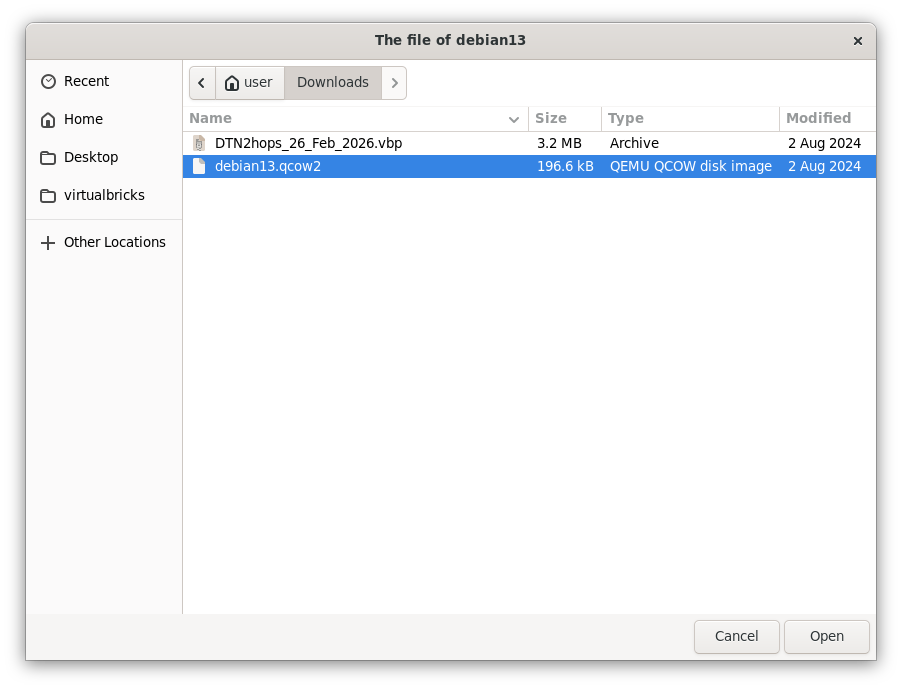
The image, in Downloads
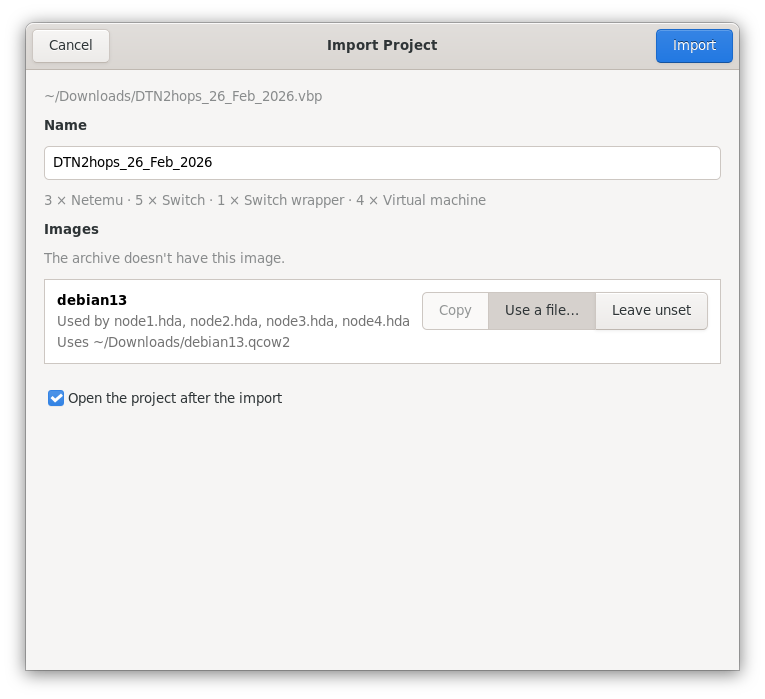
The row now says Uses ~/Downloads/debian13.qcow2. The import points the private copies of the four machines at it, so that they keep what was done in them. It must be the image the testbed was made on: a private copy holds only the changes over its image. If you use a different one the machine finds a damaged disk.
The other two choices don't do for this testbed:
- Copy
-
Grey: the archive doesn't hold the image.
- Leave unset
-
The virtual machines can't start until Find the File…, in the Images tab, gives
debian13its file.
The project uses debian13.qcow2 where it
is: keep it in Downloads. To keep it with your
other images instead, move it into the shared images of your workspace before the
import: there, the window finds it, and chooses Use a
file… with it by itself.
Import
Click Import. The window shows the progress, and Cancel becomes Stop: an import stopped removes what it wrote. You can close the window, and let the import finish.
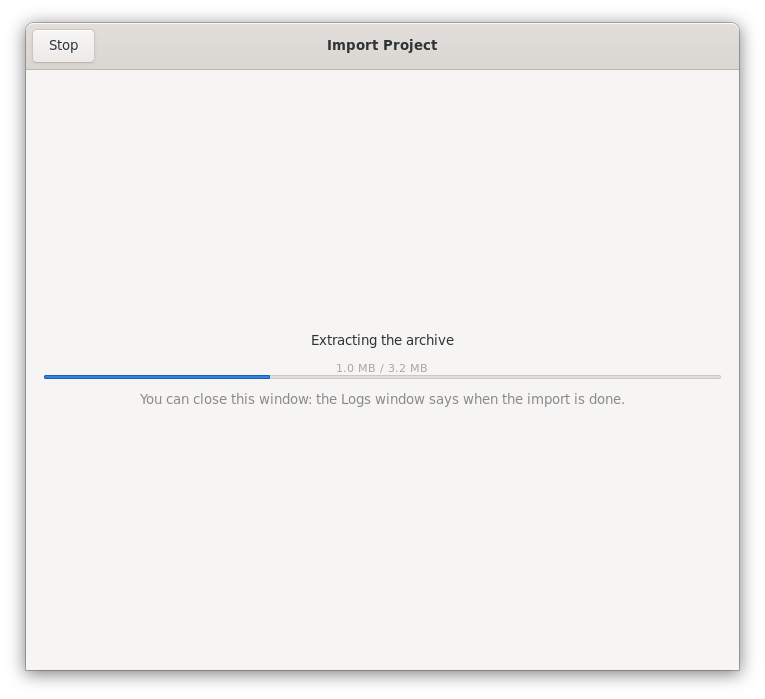
The import, under way
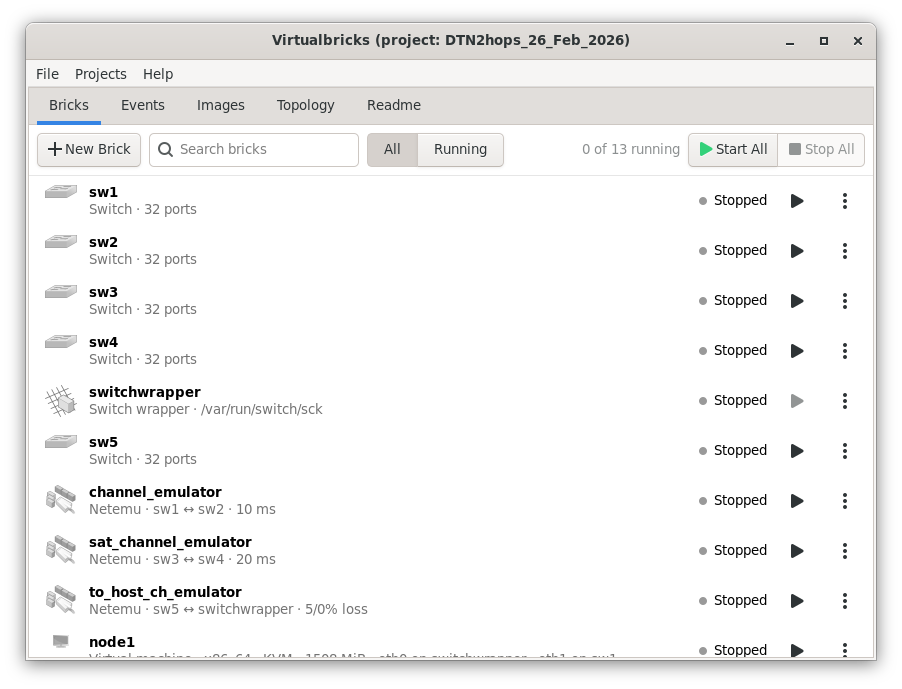
Once imported, the project opens: the main window shows DTN2hops_26_Feb_2026, with its thirteen bricks, all
stopped.
If a brick of the previous project was running before the import, the project is imported but doesn't open: stop the bricks, then open it from the Projects window.
The start button of switchwrapper is grey: a
switch wrapper is a switch that another program runs, at /var/run/switch/sck, and it runs while that
program's switch is there. See The kinds of
brick.
See also
Add, make, share and find the disk images of a project.
A lab in one file, for another computer.